I had this great idea! Use an old wood cook stove to do my canning on. 


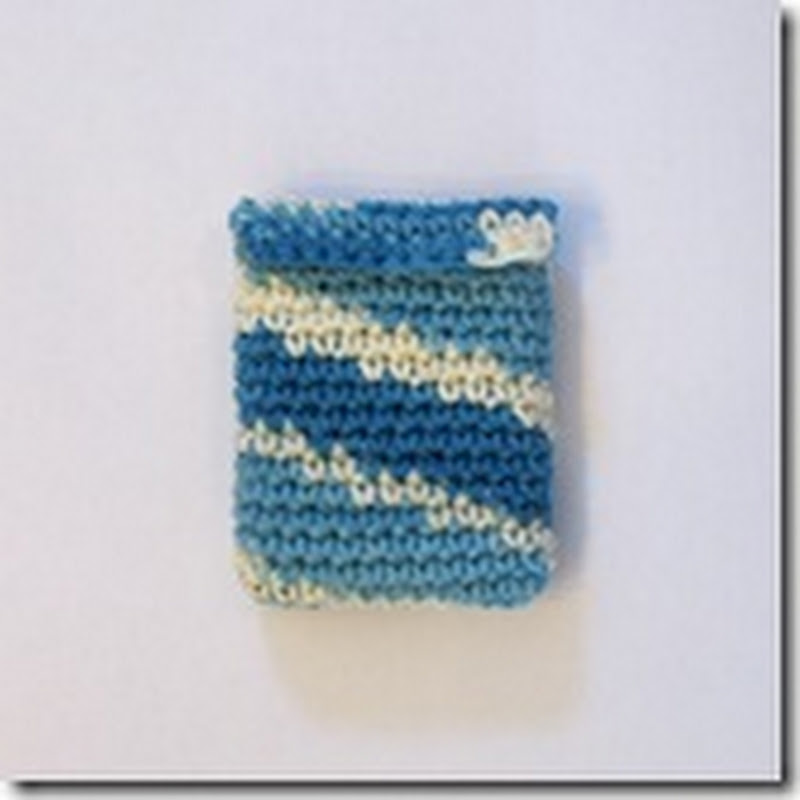
Recent artwork
7 years ago

I had this great idea! Use an old wood cook stove to do my canning on.
I love preserving the harvest! All those jars look so pretty. So far I have only been playing, nothing serious yet.
I have tried several new recipes this summer.

I tried both of these last night, and was quite pleased. The Red Root has a very strong flavor.

New for me this year are Bread & Butter Pickles. I have only recently learned to like these, as dill were always my favorite, but I now enjoy these more.
Since I had never made Bread & Butter's before, I decided to try all 3 variations in my preserving book. British Bread & Butter's are my favorite.

Yes, it really can be done! It takes a long time, and lots of heat, but it can be done. I started with 3 quarts of milk, and ended with about 3/4 of a quart.
Start with finding a method to evaporate your milk. I used a hot water bath canner so that I could use the rack to set canning jars with milk in it. I filled 6 quart jars half full of milk(wide mouth jars work best), filled the canner with enough water to come up about 3/4 on the jars, and turned the heat on high. I found that the more stirring I did, the faster the evaporation would happen.
When the jars were only a 1/3 full, I then poured the milk into an electric skillet, figuring that this was a more efficient way to heat the milk, and it gave it a more open surface. Maybe next time I would just start this way.
Once it became like a runny pudding, I then transferred the milk to cookie sheets, and placed them in the oven at 200°F. Watch these carefully, as one of the sheets burned on me, and I lost all that milk! Once it became a very thick substance, I transferred this to the fruit leather tray of my dehydrator. After many hours, I turned the substance to help it dry on the other side. When it became hard, I put it in my Vita-Mix and gave it a good whirl. This was a bit chunky and still too moist, so I put this back on the tray in the dehydrator, and then after many more hours, I put it through the Vita-Mix again.
Voila! Powdered Goat's Milk!
I store this in a jar in my refrigerator.
I have found several ways of making yogurt. The first time I tried making it, it flopped. The next time was a success!
Here is the success recipe:
2 qts. goat milk
2/3 c. dried goat milk
1/2 c. plain yogurt (from the store)
2 T. honey, optional
In a large saucepan, mix milk, dry milk, and honey. Heat to 200°F and hold there for 10 minutes. Make sure you use a thermometer for this.
After 10 minutes, remove from heat and place saucepan in a bowl of cold ice water. When the milk reaches 125°F, remove pan from cold water bath.
Remove 1 cup of warm milk and mix well with yogurt. Stir back into milk mixture.
Pour mixture into warm, sterile containers to incubate. There are many methods to incubate your yogurt. I use my food dehydrator. You can also use a thermos wrapped in a towel, or any container wrapped in a towel near a wood stove, or a commercially made yogurt incubator. The key is to keep the yogurt at about 110°-115°F.
Enjoy your delicious homemade yogurt!
With Ruth, the goat, came a book on raising dairy goats. This has been a wonderful resource, as we know nothing! Well, in this book there are several recipes for what to do with all this milk. The only one that I had all the ingredients for was one called, "Vinegar Cheese". I have now learned that this is a "fresh" cheese. It is a white cheese, and pretty much very bland to the taste. It certainly does not taste bad, it just doesn't have much taste. You can use it just as it is in several ways, like salads or in scrambled eggs or fajitas. I have found that I like to mix it with herbs, especially garlic, and green chilies or jalapenos. I then will press it for about 24 hours, which will make a wonderful cheese to add to your sandwich or on crackers.
To make this cheese:
With a double-boiler, heat 2 quarts of milk to 185°F.
Slowly, add 1/4 cup of vinegar, turn off heat, and allow to separate into curds and whey.
Skim off curds into a colander lined with cheesecloth. Tie corners of cheesecloth and hang, I use the knob on my cupboard door, and allow to drip for a couple of hours.
At this point, if you desire to add ingredients, turn cheese out from the cloth into a mixing bowl, and add desired ingredients. Mix well.
Or, you can put the cheese into a container as it is to use as a crumbled cheese.
I like to press mine. I made a mold by constructing a box out of pine wood that measures about 8" x 3 1/2" x 2". I only made 4 sides with an empty bottom so that the extra liquid can come out the bottom. You will want a "follower" made out of a thick piece of wood that will press down on the cheese. I use a large C-clamp as my press.
I have made this cheese 3 times now, and with great success. This was definitely a very good first cheese to make. I have now ordered the different cultures that are needed to make other cheeses, and I am looking forward to experimenting more!

Cheap and Simple Yellow Jacket trap
Caveat: Despite the nuisance yellow jackets create, they do a lot of good as well. As predator insects they control many pests. You may find that eliminating yellow jackets increases the need for you to spray for pests in your garden and around your home. Use traps only when the yellow jacket situation is intolerable.
Step 1 Obtain a plastic bottle and cut a small hole in the shoulder, large enough for your finger, with a utility knife. Put an inch or two of water in the bottom, squirt a good squeeze of dish detergent into the water.
Step 2 Take some jelly or some other preserves that is sweet, get it on your finger and smear it around the inside of the jar, near the hole. You can increase effectiveness by using a pleasant odor in the jelly, such as a drop of vanilla or peppermint. Caveat: Never use honey for this. It can spread bee disease; bees are vital to your food supply.
Step 3 Yellow jackets will climb in and begin feeding. Most of them are not bright enough to find their way back out via the hole, so they drop into the soapy water. Instantly they are trapped, and in a minute they are dead. You'll have to clean out the dead, and replenish the jelly now and then.